Getting the chance to upgrade your video card is like a dream come true for any die-hard PC gamer. It means you’ll be enjoying smoother gameplay with higher frames per second, exploring a wider array of games, and extending those gaming sessions that bring endless joy.
Now, while the process of upgrading your GPU might sound as easy as popping in the new card and updating your drivers, there’s a slight twist. Some gamers encounter a bump in the road when it comes to installing GeForce Experience.
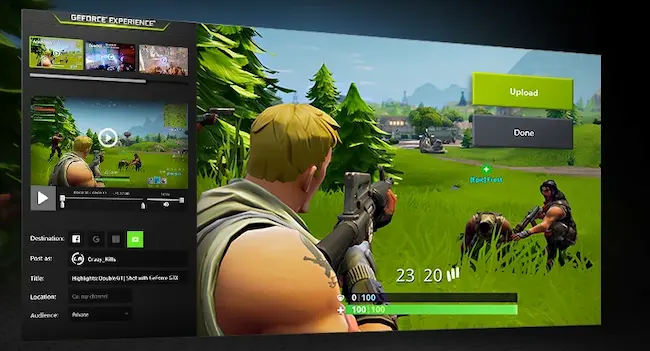
GeForce Experience is NVIDIA’s trusty sidekick – a software they’ve cooked up to complement their GeForce series graphics cards. It’s got a bunch of nifty features, like fine-tuning your gaming performance, capturing your epic gameplay moments, and more.
If you’re all in for the complete NVIDIA experience, you’ll definitely want to get GeForce Experience up and running. To lend a helping hand, we’ve put together a handy guide to troubleshoot any installation hiccups you might run into with GeForce Experience.
Table of Contents
Give Your PC a Refresh.
If you hit a snag while installing GeForce Experience on your computer, give it a quick reboot before giving the software another shot. This little step can help clear out any lingering issues in your system’s memory and fix any glitches that might have popped up during the installation process.
Here’s what you need to do:
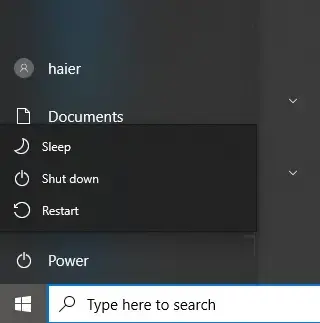
- Tap that Windows key on your keyboard to bring up the Start Menu.
- Then, head over to the Power Options tab – you’ll find it right there.
- Finally, hit that Restart button and watch your system do its thing.
Once your PC’s back up and running, try running the installer again. This time, see if you can get GeForce Experience up and running without any hitches.
Make Sure Your Graphics Card Is Ready to Go.
If you’re scratching your head wondering why the GeForce Experience won’t install, there’s a chance it’s having trouble finding your trusty NVIDIA graphics card. Don’t worry, we’ve got you covered. Let’s dive into your Device Manager and make sure that GPU of yours is raring to go.
Here’s the lowdown on what you need to do:
- Fire up your keyboard game and hit Windows + X – that’s your Quick Menu right there.
- Now, give that click to open up the Device Manager, your go-to spot for all things hardware.
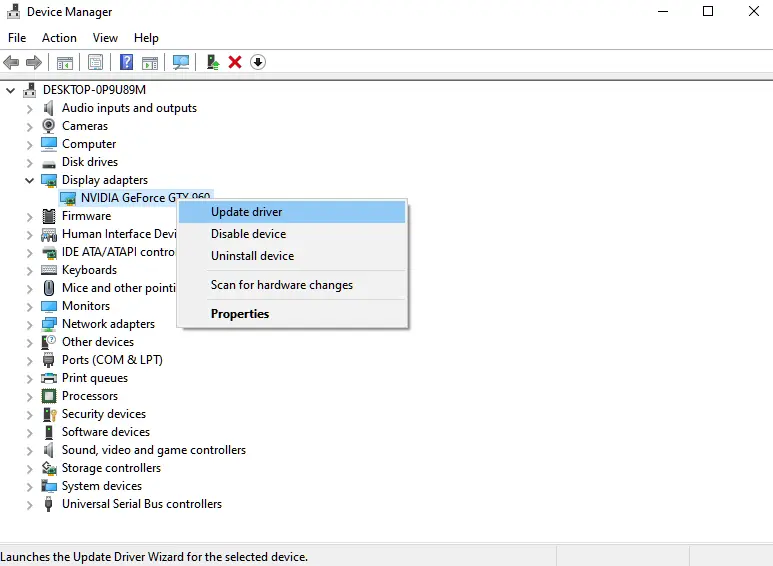
- To wrap it up, give a little click on the Display Adapters tab.
Take a peek at that list and see if your video card is waving hello. If you don’t spot it, no biggie – it might just need a little nudge. Try reseating the video card in its slot and give your PC a reboot. Once you’re back in business, try the GeForce Experience installer again and see if things start clicking into place.
Verify Your Connections.
If your computer isn’t recognizing your GPU, it’s possible that your HDMI or Display Port cable might be linked to the motherboard. This inadvertently triggers your system to utilize the integrated graphics of your CPU – a situation we aim to avoid.
To address this issue:
- Confirm that your HDMI, DVI, or VGA cable is securely connected to the ports situated at the rear of your video card.
- Subsequent to adjusting your cable connections, proceed to restart your computer to ensure all changes take effect.
After implementing these adjustments and rebooting your PC, proceed with the installation of GeForce Experience. This time, you’re likely to encounter a smoother installation process.
Ensure Your Display Drivers Are Up to Date.
If you’re encountering hurdles during the installation of GeForce Experience, it’s worth considering the state of your display drivers. Outdated or mismatched drivers can potentially impede a smooth installation process. To mitigate this, we recommend keeping your display drivers current to ensure compatibility and optimal performance.
Here’s a straightforward guide to assist you:
- Begin by accessing the Quick Menu using the Windows + X keyboard shortcut.
- From the Quick Menu, select Device Manager, your hub for managing hardware components.
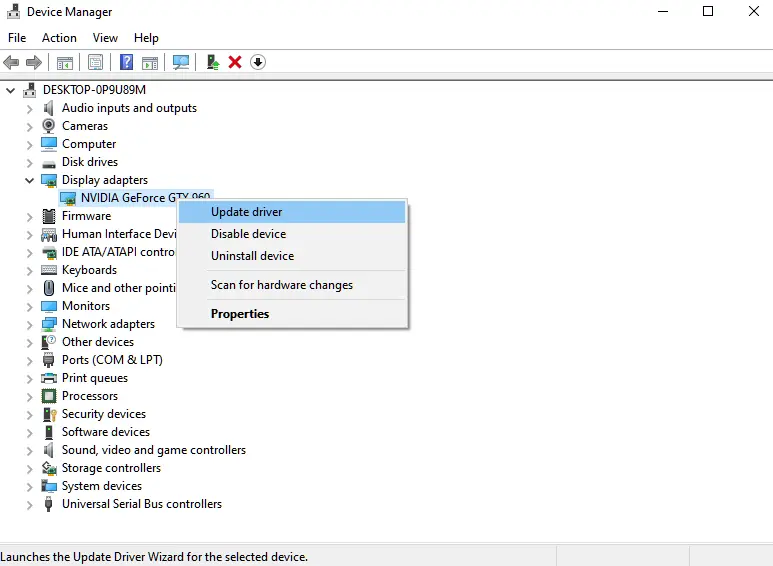
- Locate the Display Adapters section and right-click on your specific video card entry.
- Opt for the Update Driver option and carefully follow the prompts provided.
Upon completion, perform a system reboot to allow the updated drivers to integrate seamlessly. Once your system is back online, proceed with another attempt at installing GeForce Experience. This time around, the process is likely to proceed with increased efficiency.
Get a Fresh Installer.
If your internet connection got shaky while you were downloading the GeForce Experience installer, it might have gotten messed up. To make sure everything’s okay, just do this:
- Go to NVIDIA’s official website.
- Download a brand new copy of the GeForce Experience installer from there.
Remove Samsung Magic Rotate.
Oddly enough, Samsung’s Magic Rotate software can sometimes clash with GeForce Experience. If you’re using this software to adjust your display’s rotation, it’s best to uninstall it.
Here’s a step-by-step process to get rid of Magic Rotate:
- Open up the Control Panel on your computer.
- Click on the “Uninstall a Program” option.
- Look for the Magic Rotate Software, usually labeled as “5_RAFF.”
- Right-click on the software and select “Uninstall.”
- After you’ve completed the uninstallation, reboot your system and then proceed with the installation of GeForce Experience.
Update Windows
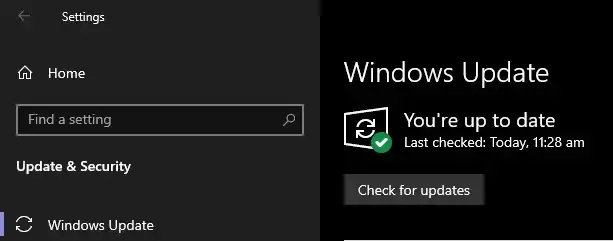
If you’re encountering problems with GeForce Experience, it’s possible that your current version of Windows could be the culprit. To troubleshoot this, consider updating your operating system using the following steps:
- Open the Start Menu on your computer and navigate to Windows Settings.
- From there, click on “Update & Security” and then select “Windows Update.”
- Proceed by clicking on “Check for Updates” and carefully follow the on-screen instructions.
Once the update process is complete, don’t forget to restart your system before attempting to install GeForce Experience once again.
And there you have it—a concise guide to resolving installation issues with GeForce Experience. If you have any questions or need further assistance, please don’t hesitate to leave a comment below.

